DIY: Outdoor Wood Table
This diy came to me after numerous attempts of getting my husband to throw out our old glass patio table. I really wanted a new wood table to host barbecues, garden parties and just be able to enjoy dinner outside with the family.
I searched many sites for rustic wood tables but didn’t have much luck finding anything without spending a lot of money on it. Especially since I would only get to use it about 3 months out of the year.
After seeing this glass table day in and day out, I accepted it wasn’t going anywhere and took matters into my own hands, realizing I could use this table and transform it!
This journey started off with 3-4 trips to Rona just thinking about how I would do this .... but I figured it out and I’ve made it really easy for you to do it yourself.
I chose 6x1 planks after measuring the base and not wanting too much of an overhang. I began by laying them down and spacing them all the same distance apart. I then used 2 pieces of wood about 3ft long, to hold all of the planks in place. I started by using smaller nails while figuring out placement and once I was happy with it all I used 1 1/2 inch screws to anchor it all together. One thing you have confirm is how big the base of you table is because you want to make sure the anchor boards fit either side on the base for a perfect fit.
As for the base of the table I had to start by breaking the piece of glass, now this was not done with the most finesse, it involved my husband and a flying hammer. Just make sure there is a sheet underneath to catch all the glass and whoever is doing this is wearing the proper safety equipment. (He was not!!)
After the glass is gone you need to measure the width of the table and get wood to fit inside the frame. I used 3 pieces and it was exactly 3 ft. I then drilled screws through the side frame of the table and into the pieces of wood to get a good support for the table top to be anchored onto.
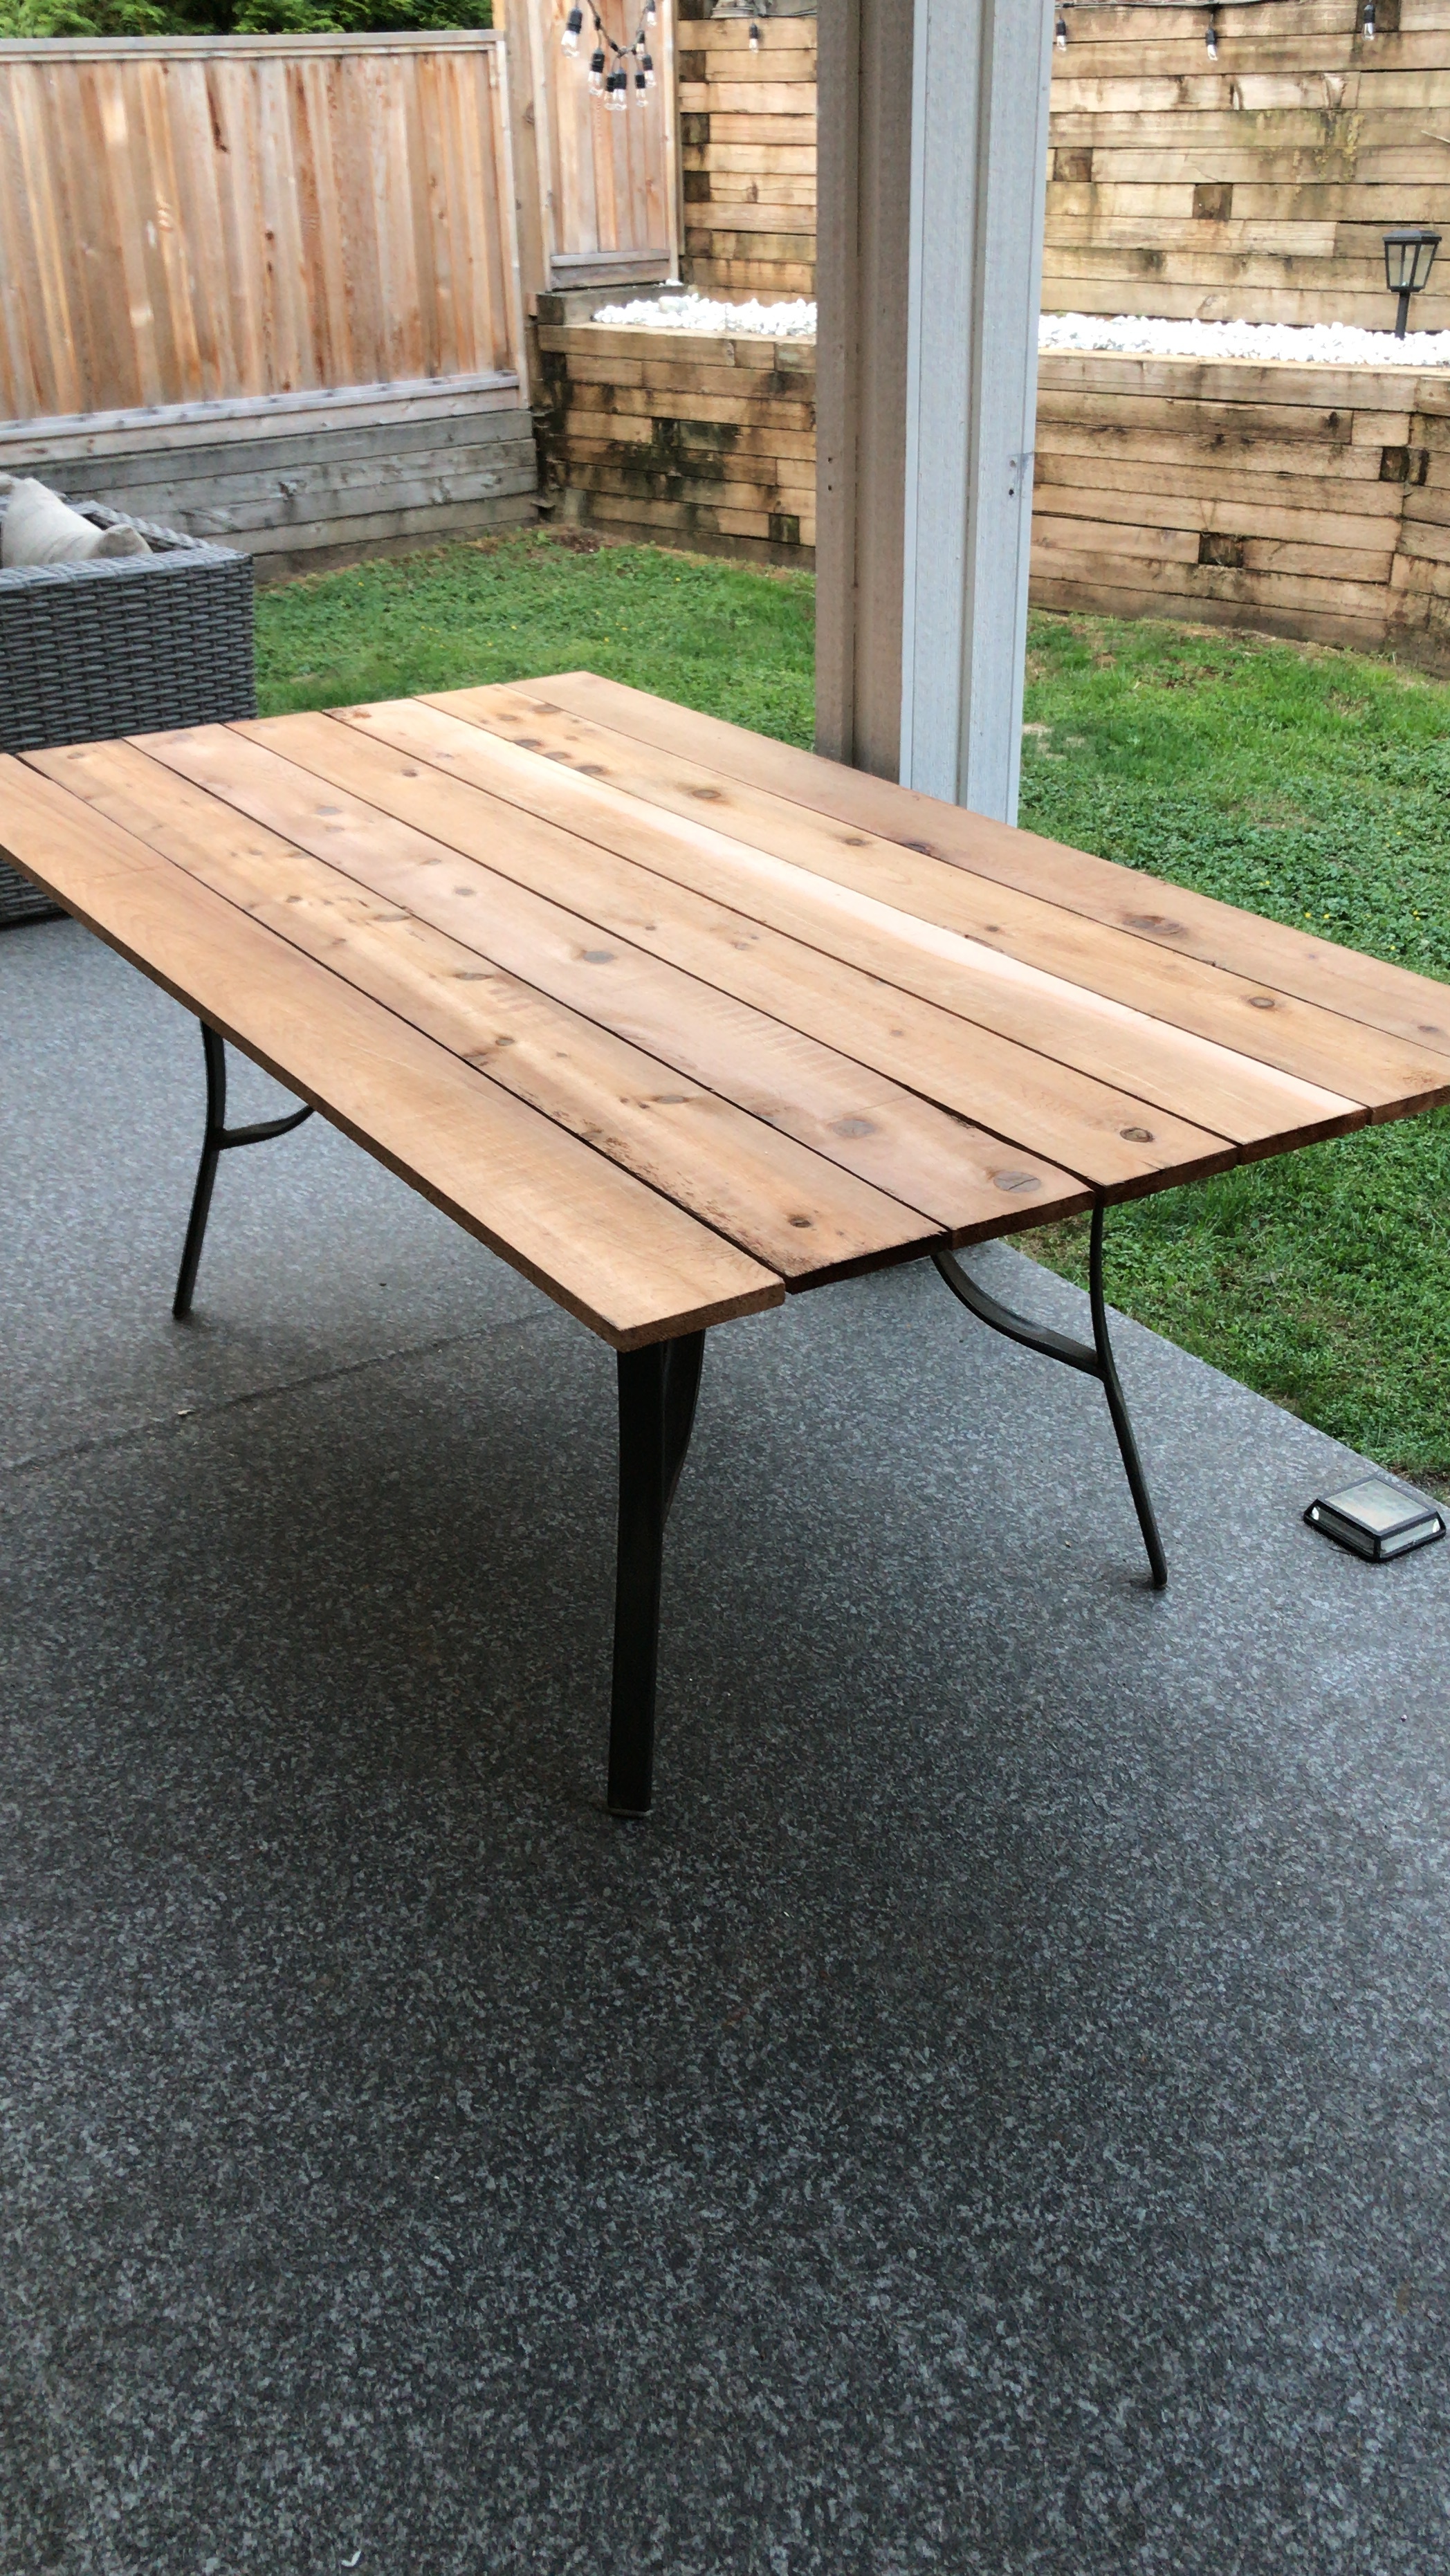
Then it’s just a matter of flipping the base onto the table top and screwing it in.
This is what the table looked like after. The whole process took about half an hour.
When I do DIYs I get to a half way point and sometimes start to slack or pass a few steps but I knew with this one I had to be fully committed to get the best results. So from here are there a few more steps that took a little longer.
I had to fill in most of the cracks and imperfections in the table with wood filler. I did my best to pick good pieces of lumber but for a table you need it to be as close to perfect as possible. Let the filler dry for the correct amount of time as per instructions. Once dry, then sand...and sand...and then sand a little more.
I have to say the sanding took the most time, and I’m not a professional by any means so I obviously don’t have the equipment that would make this easier, so this was all done by hand.
Once I was happy with all the sanding I cleaned it off and headed to Home Depot to purchase a stain, I chose the Behr stain and sealer in Cordovan Brown. It’s the perfect brown rustic color I was going for.
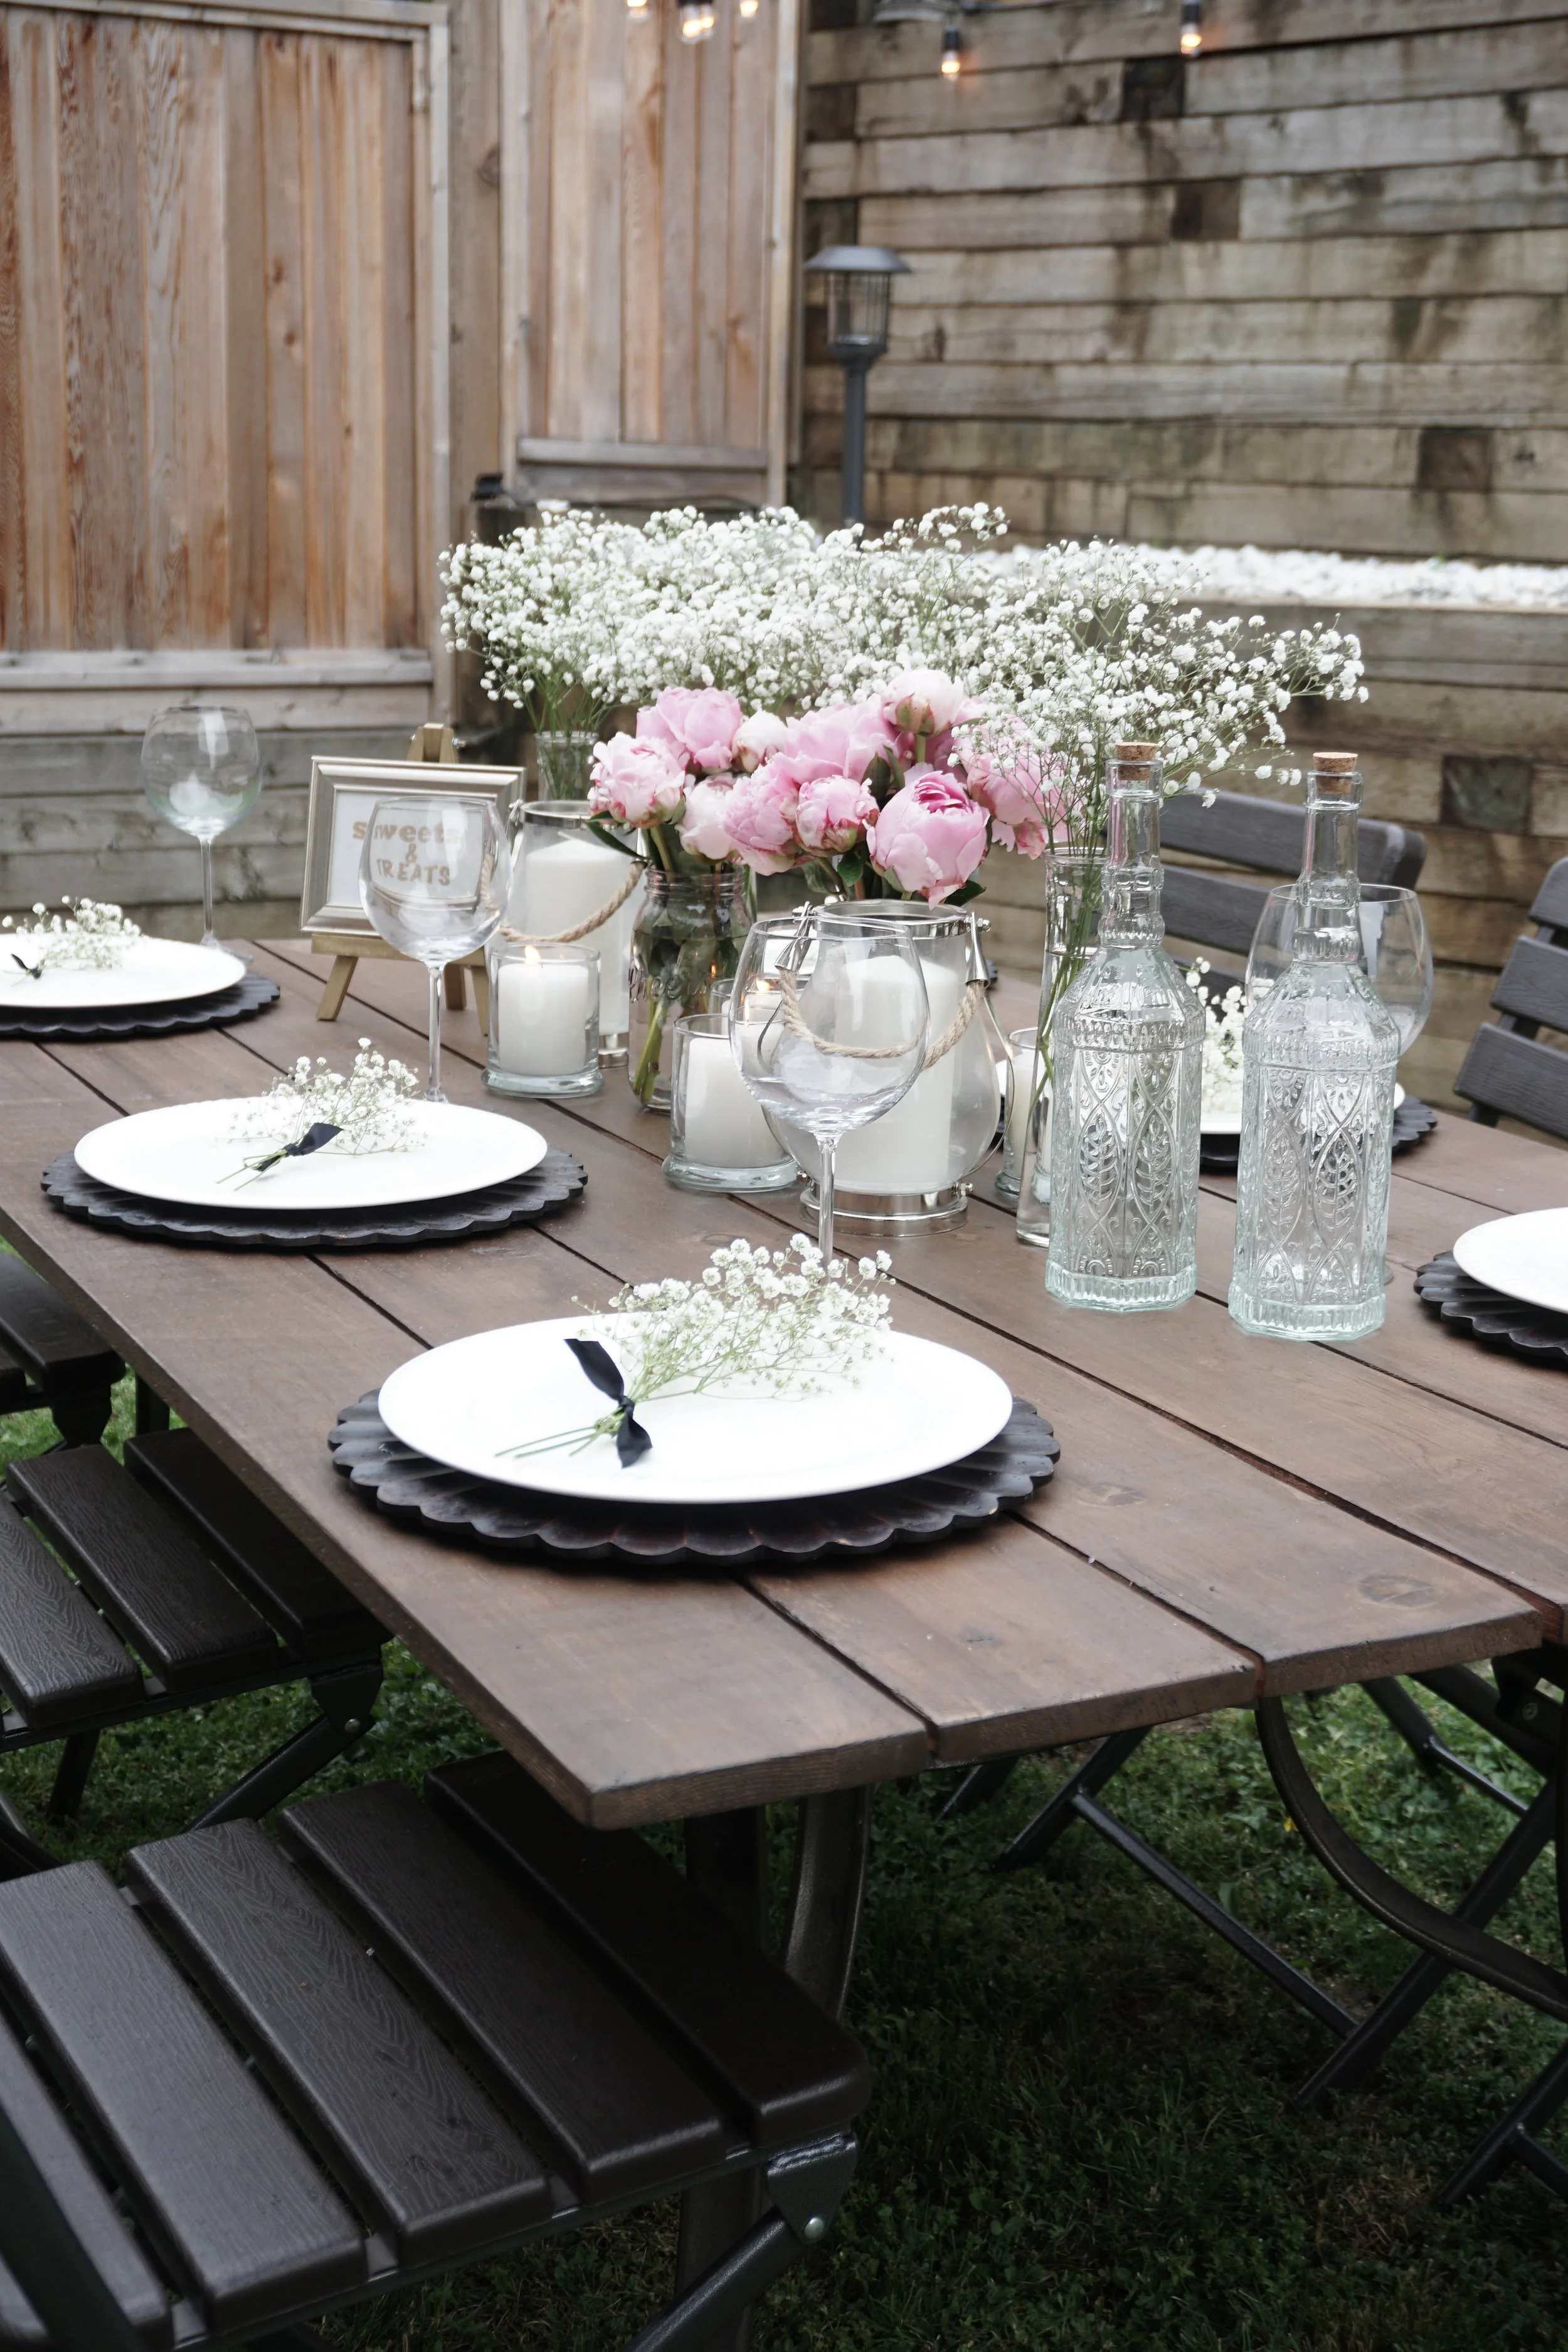
A couple of coats later and this was the final product!! The best part, this whole project cost me $60!!!! The wood, the filler, sanding materials and stain!!
I found these amazing resin chairs from Canadian tire that matched perfectly and easily fold up for storage.
I’m so happy with how the table turned out and for once have to admit that my husbands laziness actually worked out. Just imagine he had listened and thrown it away. I hope this gives you some diy inspiration!!! ;)


