DIY : Flower Letters
This little project is for a special little girl that should be making her entrance into the world any day now!!!
One of my very dear friends is expecting a little girl and in anticipation for her arrival she wanted to create something meaningful for her new nursery. She decided that she wanted a beautiful floral letter above her crib and wanted to hand make it. It felt so special to help her with such a heartfelt project.

We started off with one of many trips to Micheals, but to begin we needed:
• floral foam
• silk flowers
• hot glue gun
• scissors

The next step was coming up with a plan on how we would shape and cut the foam. It was a bonus that we were working with such an easy letter like an “E” and we only had to cut out a couple of sections of the foam.

We used a knife to cut out the sections, fairly easy as the foam is relatively soft.
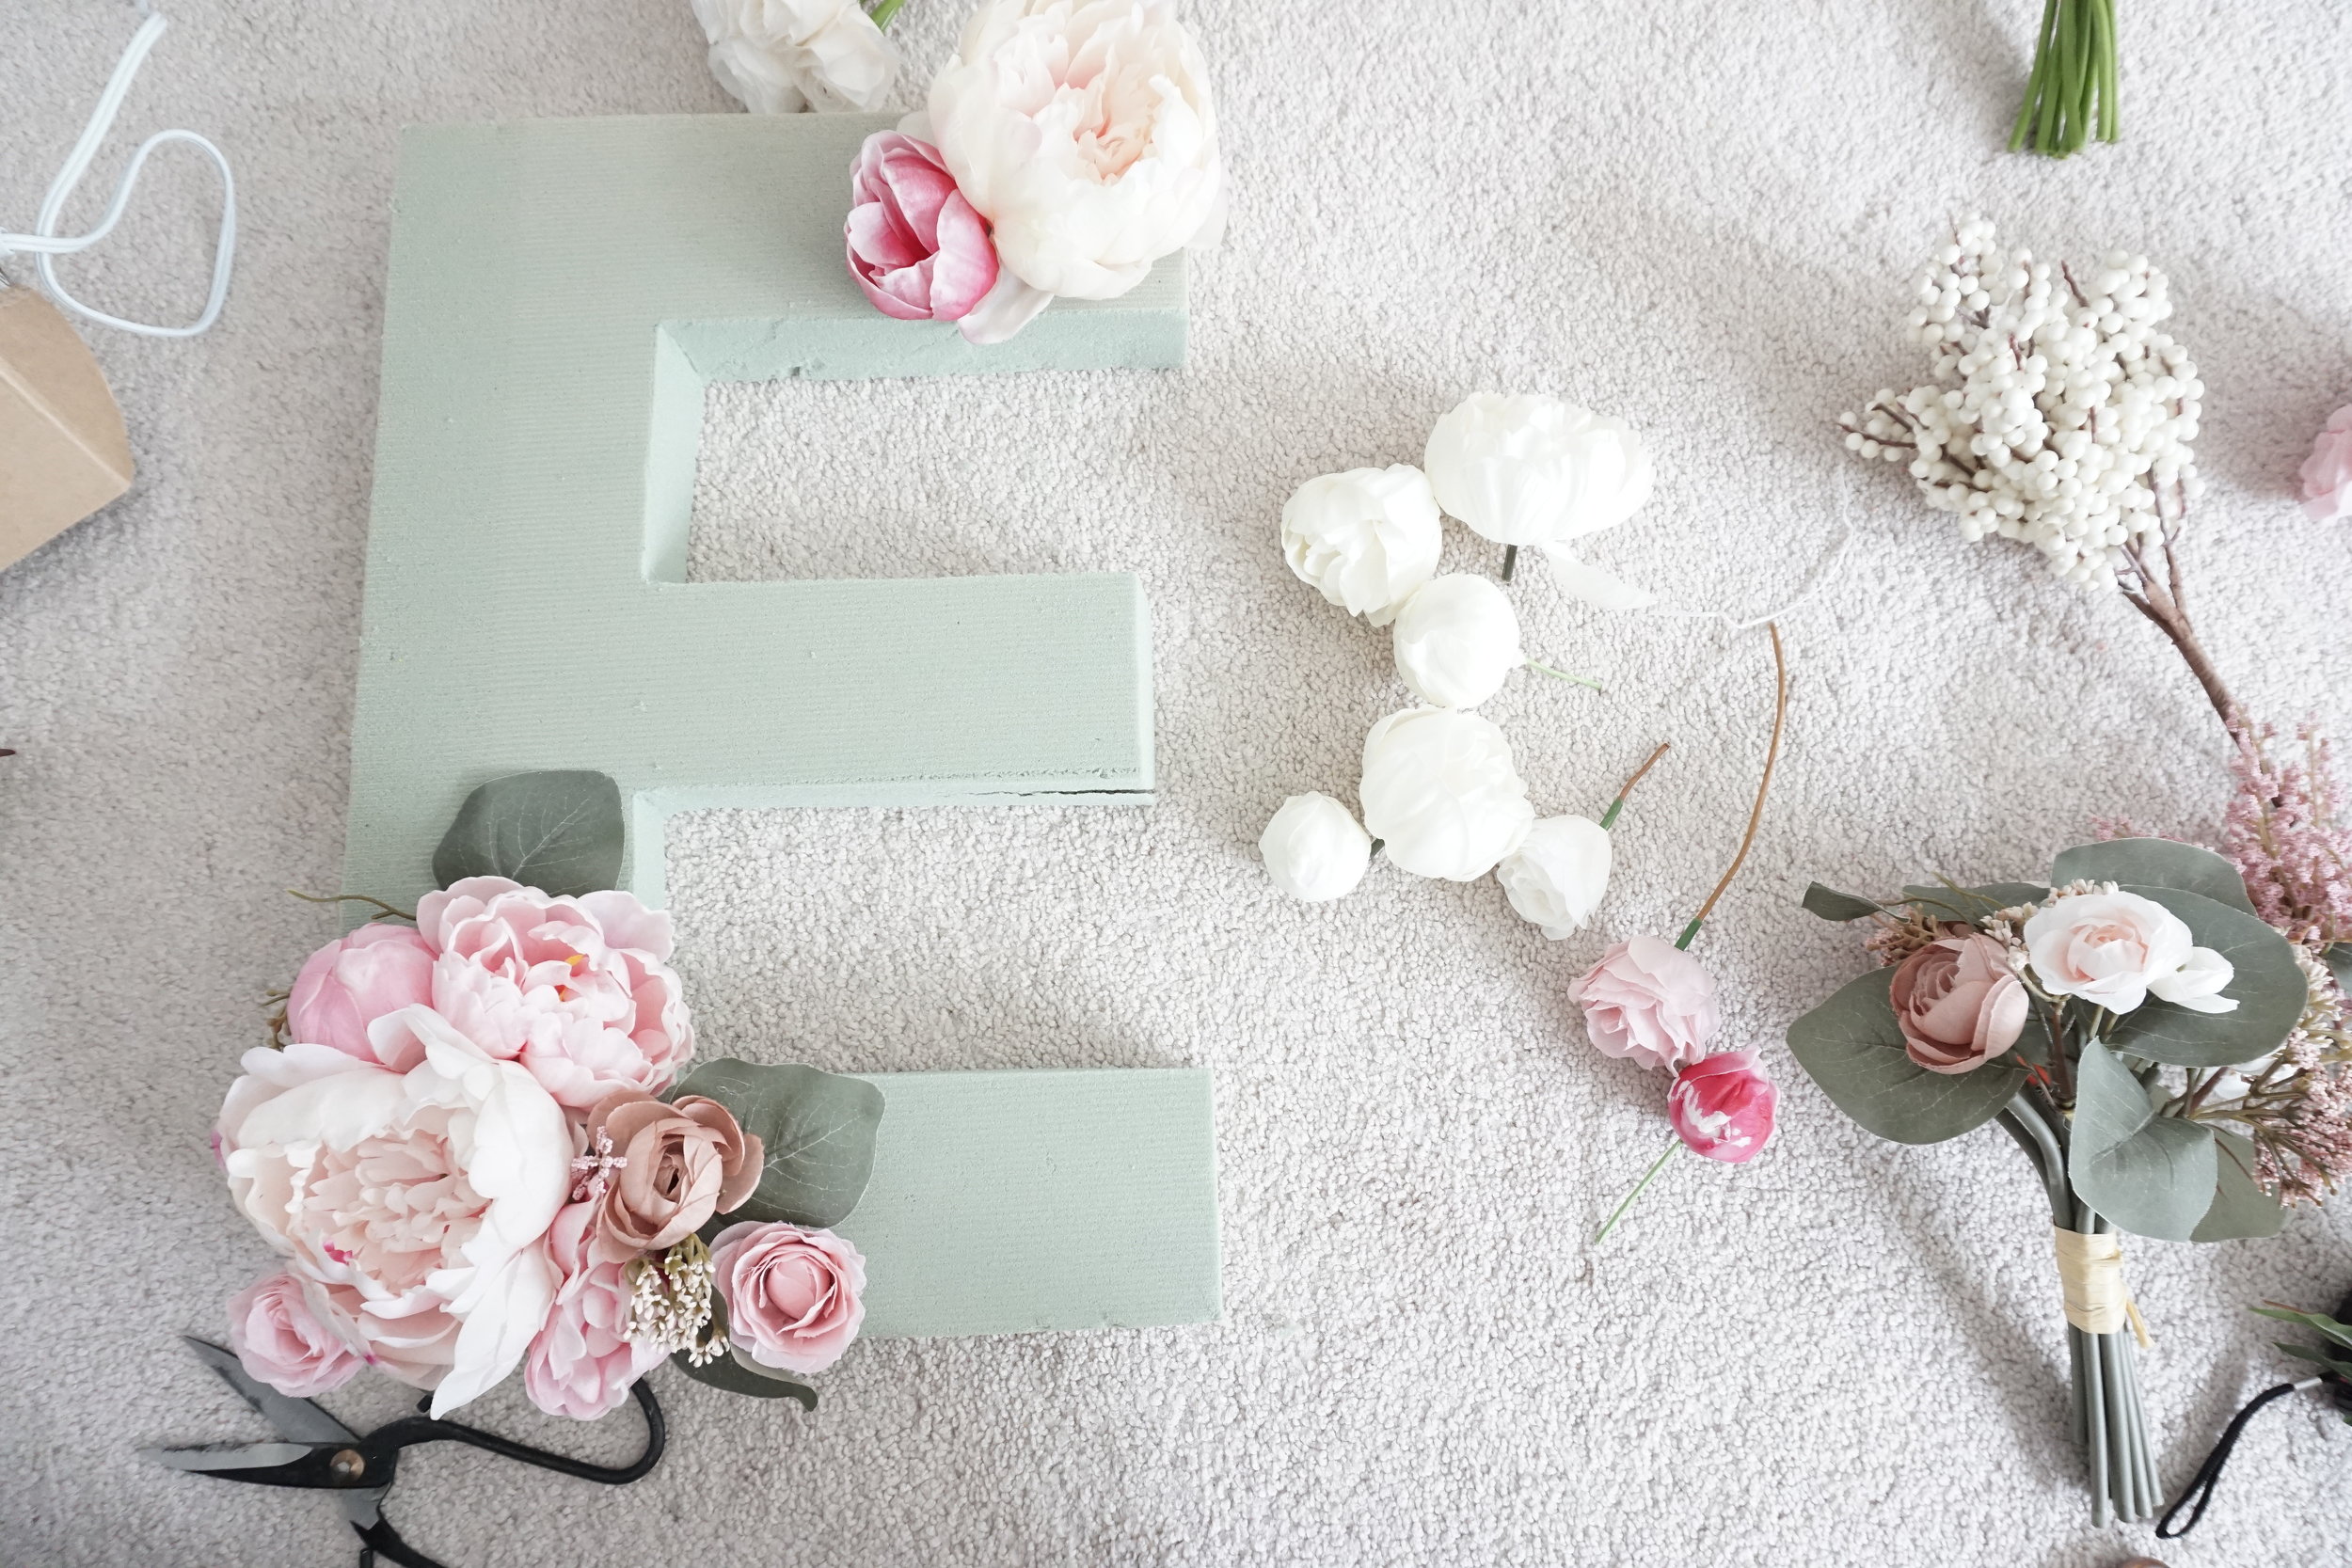
Next is where it gets a little tricky. You need to come up with how you want the overall letter to look before you begin placing flowers. Because we were using a hot glue gun, there is little room to make changes without ruining the base or the flowers.

We decided to choose 2 corners, the top right and the bottom left as the focal spots and fill in the majority with smaller roses.

This is where we had to make a couple of extra trips to the store because we underestimated how many flowers this project would take. We thought of a few options on how to finish the sides but inevitabley ended up using small, fuller flowers that wouldn’t effect the shape of the letter.

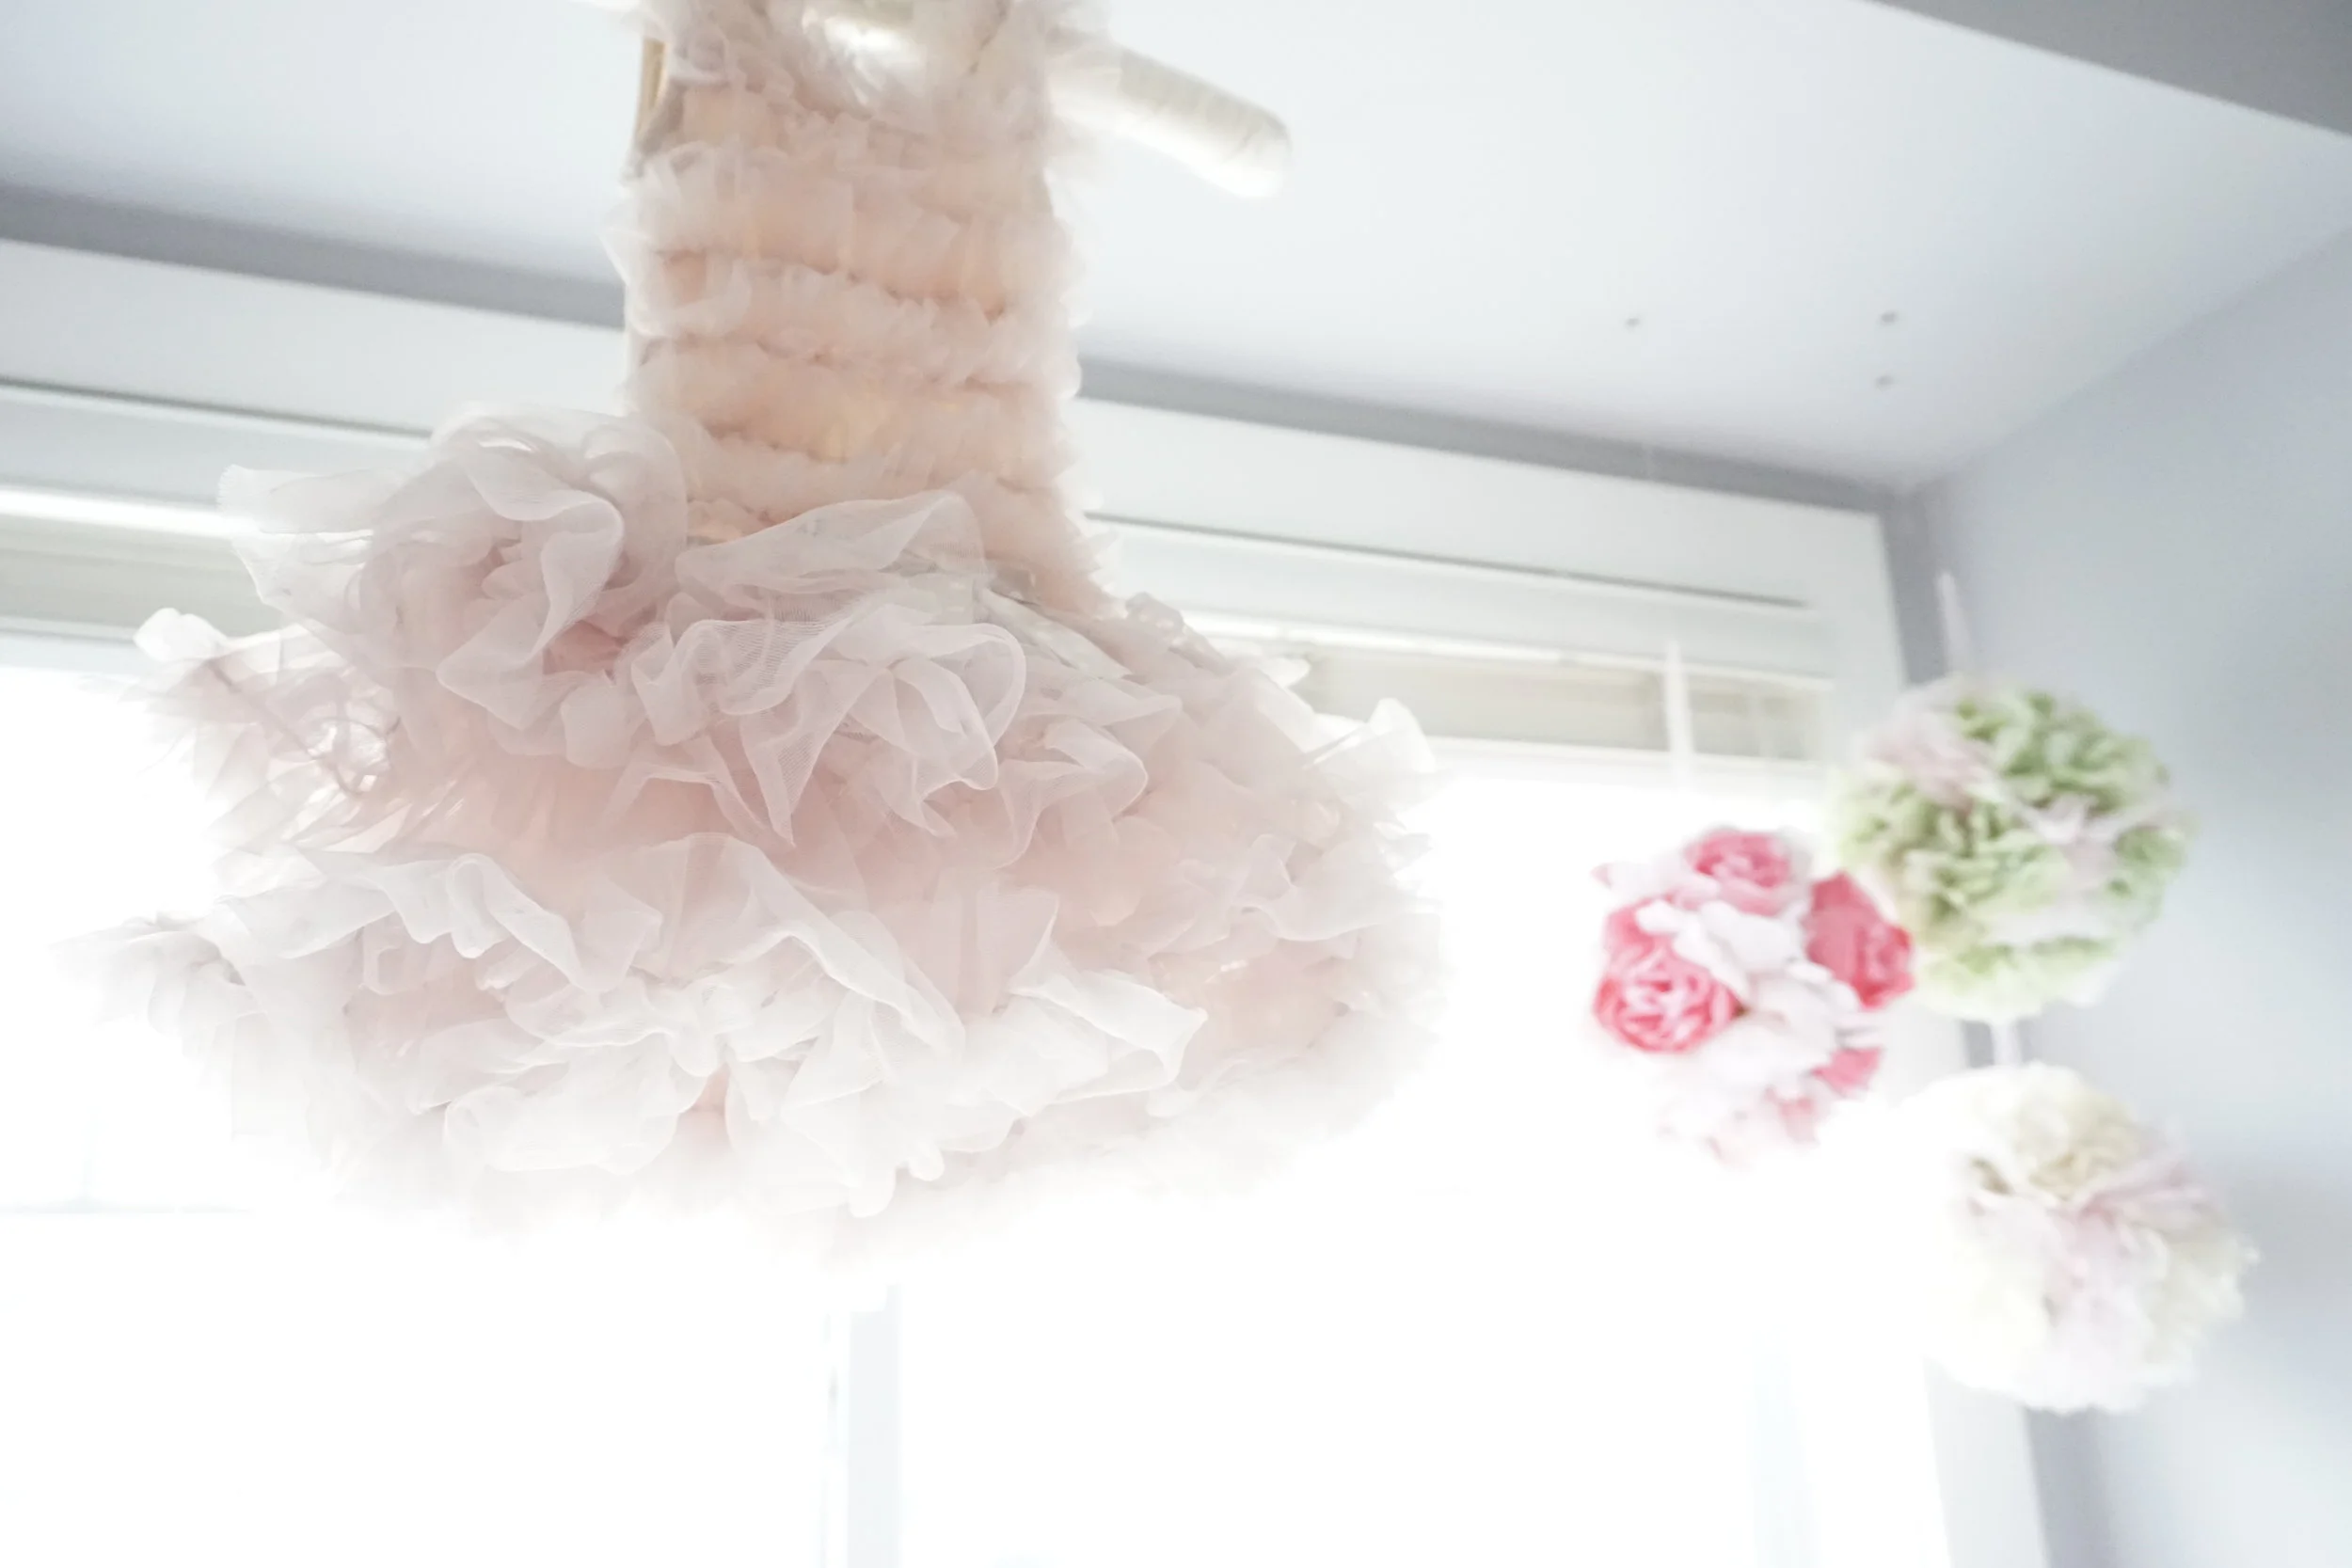
This is the final project hung up in her adorable nursery!!