DIY: AT HOME POLY NAILS
It has been an interesting year to say the least. A lot of things that we depended on came to a sudden halt but with that came an opportunity to learn and explore things that we may be able to do ourselves. Things like, cooking meals, finding alternatives to gym workouts and even at-home beauty hacks.
For me, having my nails done has been a very important part of my daily routine and as a makeup artist it is important to maintain this.
Even though salons have opened up and people are getting back to their routines I decided I wanted an at home option as well.

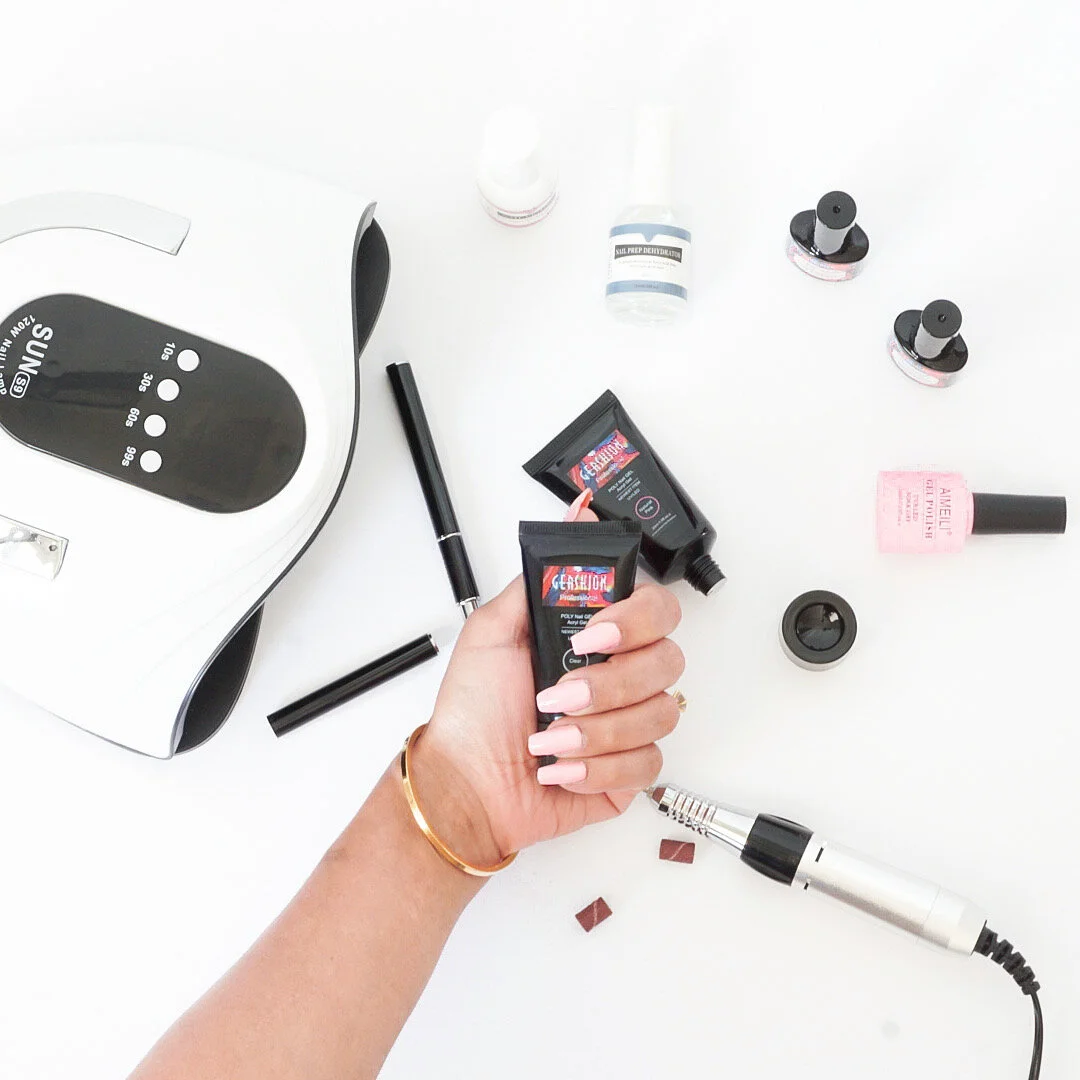
Below are my amazon purchases to make this process a little easier.


Step 1: I start by prepping the nails, I cut them down and buff them lightly with a nail file or a low setting of a nail drill.
Step 2: Apply the Nail Dehydrator, followed by the Nail primer, to help the poly nails adhere to my nails with a stronger bond.
Step 3: Start with a thin layer of base coat, provided in the Poly Nail Kit.


Step 4: Find the correct size nail form for each nail. Use the Gel and spatula provided to apply a thin coat onto the plastic nail forms.
Step 5: Press the pre coated plastic nail form onto your nail and cure under the light for 60 seconds. Repeat on all fingers.
Step 6: File and shape each nail to the desired shape.

Step 7: (optional) Apply 2 thin layers of shellac nail color followed by 1 layer of top coat, remembering to cure each layer in between.
It may take some practice getting the hang of it but having the ability to do this at home is definitely worth it!!