DIY: TIE DYE
Whether you’re looking for a fun activity with the kids or just want to spruce up your wardrobe, tie dye is a enjoyable project for all.

I always thought tie dye was a timeconsuming craft to tackle but with the help of the Tulip One Step tie dye party, it made it so easy!
This kit comes with all the colors, elastics and gloves you would need to create multiple pieces of clothing.

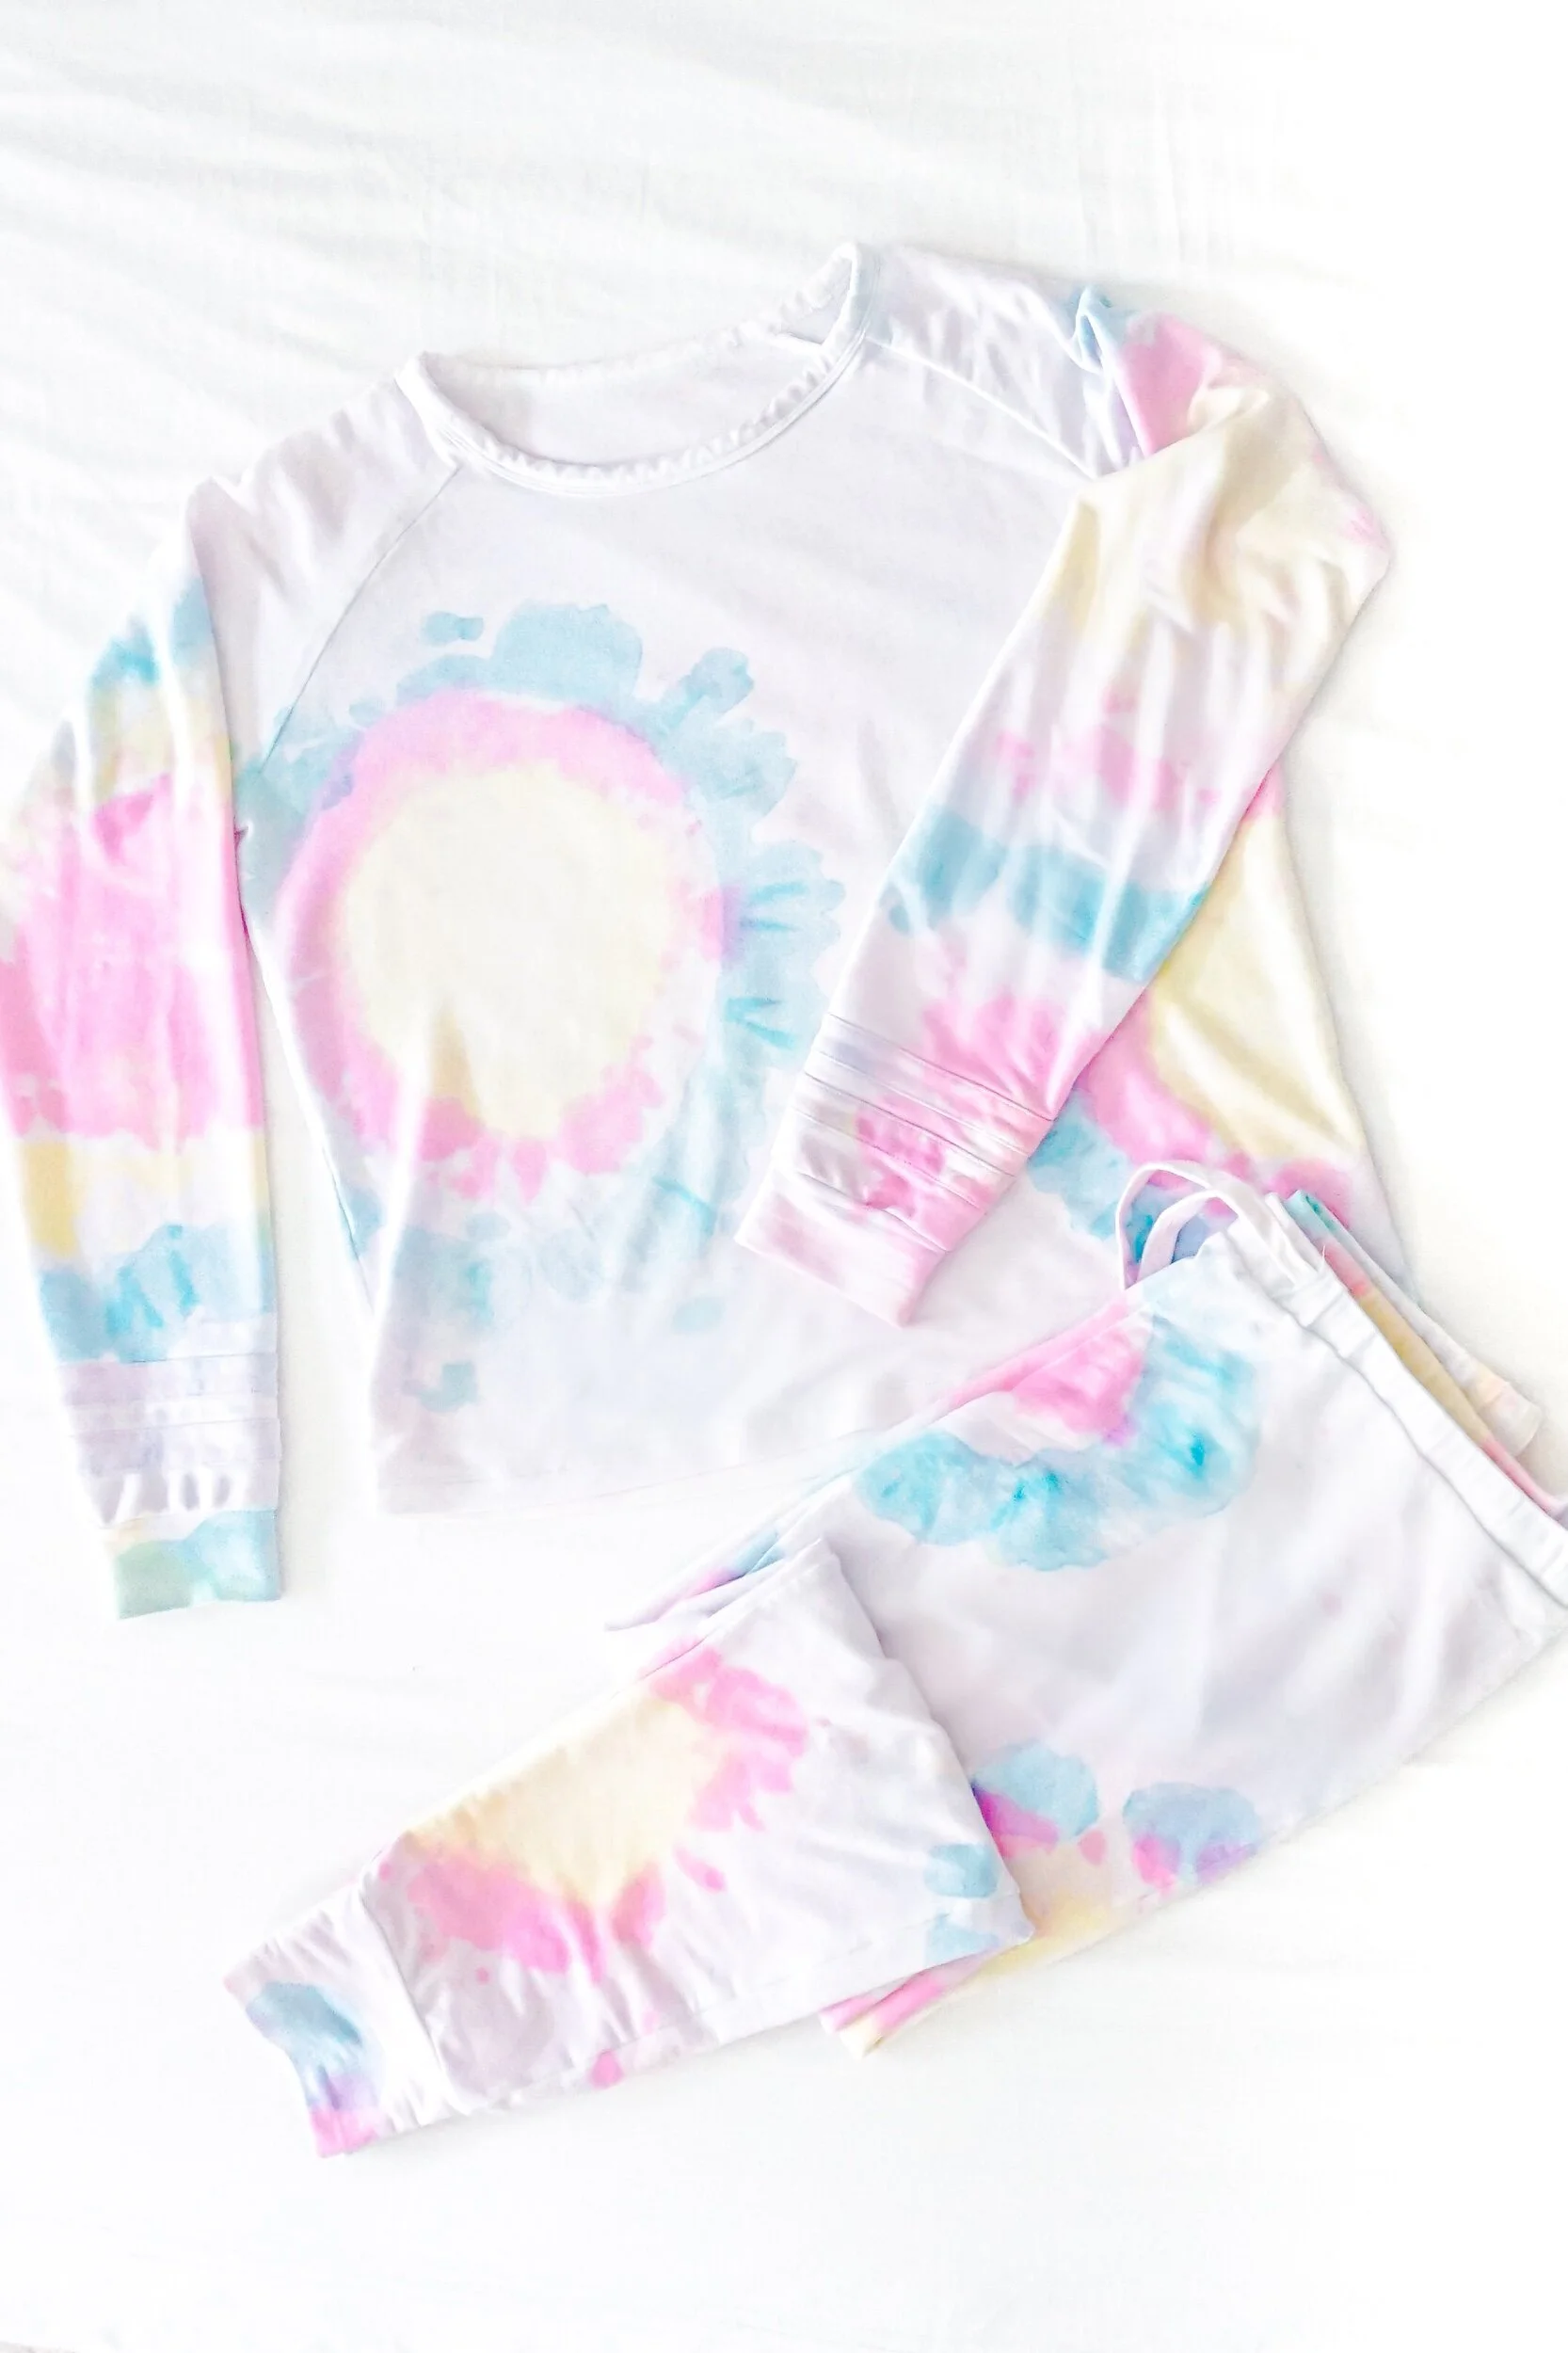
This is the lounge wear I started with. It’s an extremely comfortable set but also extremely see through which made it uncomfortable to wear.

Step 1:
Before starting, get the piece of clothing wet and wring out so it’s just damp. Using the elastics, tie each section. I wanted 3 colors and round circles so I used 4 elastics to make 3 even sections.

Step 2:
Choosing colors can seem a bit daunting. Even though the kit comes with pre-measured dye powders in each bottle, I wanted more pastel colors. I removed half the powder from each bottle to get a more diluted color. This way I also have extra to work with next time.

Step 3:
It’s time to start! Wear gloves and make sure you put a tarp down so you don’t stain the floor. I chose to do this part outside.

Step 4:
Use the bottles to dye each section. It doesn’t need to be in the same order, just try not to over squeeze color because it will leak on to other parts of the garment.
Side note, if you’re working with multiple pieces for the same outfit make sure you leave enough of each color for all the garments. Duplicating and matching a dye color after will be pretty difficult.

Step 5:
Let the items sit for 5-6 hours.
Rinse each item and remove all elastics, then place items in the washing machine to remove remaining dye.

…and your all done!